Some Basics
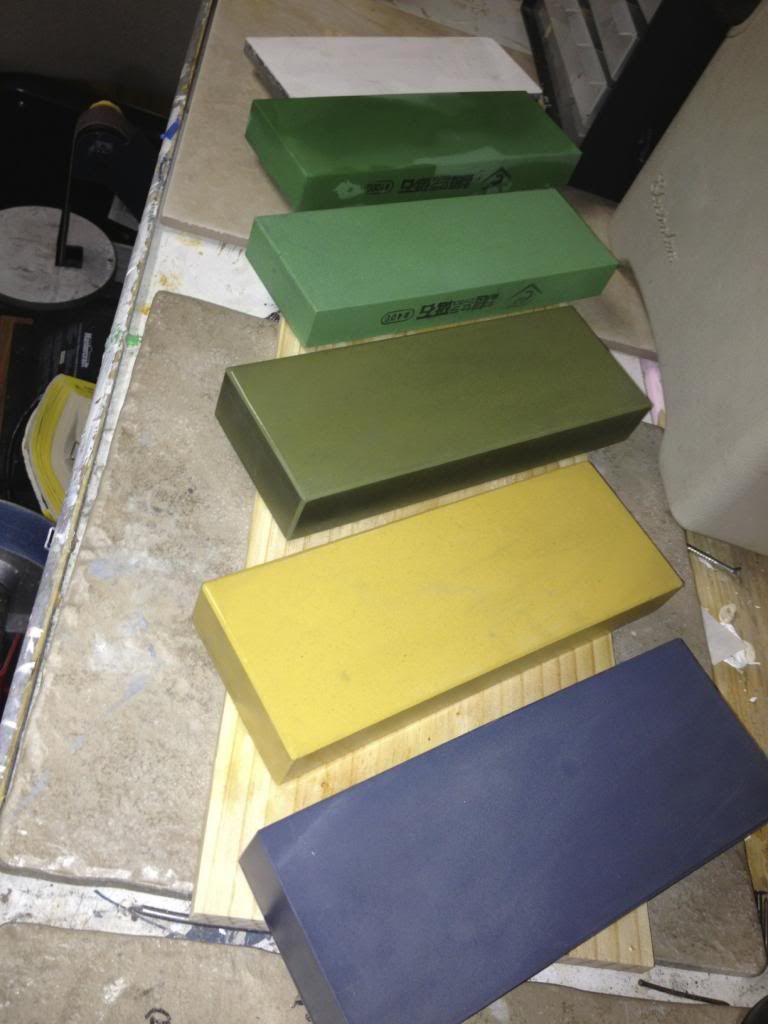
I wish I had known some of the things I will mention here when I got started. First of all, one does NOT need all the stones in the picture below. I need them, and this is not all of them, but I need them because of my obsession with sharpening knives, I don't need them all to get a sharp knife though. A golfer could play a round of golf with 3 or 4 clubs but over time he/she gathers more. (You get the picture)
You should have 3 stones, Coarse, Medium and Fine.
A Coarse stone, anywhere from 30 grit up to about 800 is excellent for setting the bevels, removing nicks and just getting started on a very dull knife. Now if you are starting with relatively sharp knives, or knives that are new you can get by without a coarse stone.
( I get knives that are so dull, if I closed my eyes and felt the edge, it would sometimes be difficult to differentiate between the cutting edge and the spine of the knife)
A Medium stone, 800-2000 is essential, you could get buy with just one stone, a 1200 King Deluxe for example and with that one stone you could get your knives sharper than when new. However, if the knife you are sharpening is dull, it will be a long road ahead of you, i.e. a lot of grinding on that stone.
A Fine stone, (Finishing Stone) 3,000 - 30,000 is also important to have for refining your edges/bevels. So if you have a choice and only get one finishing stone, a 4k stone, such as the Imanishi stone at Lee Valley is a good choice or a King 4k as well. There are many many different brands of stones, don't get hung up on the brand name.
Naturally, there are different qualities of stones just like everything else, just because I have Naniwa Chosera or Shapton stones, does not mean you have to. I started with a King 800 when I first entered the world of Japanese Water Stones. TECHNIQUE is the key, not the brand of stones you have.
OK......you have a stone or two, let's say you have an 800 King stone and a 4,000 Imanishi and you have a dull knife or two or 24. Get yourself situated with some good light, a few drying rags to wipe off the blades and some water to soak the stones. You need to soak your whetstones until the bubbles stop. Then you can just keep them lubricated with water as you proceed. I use those bottles that you see on cooking shows that people put olive oil in or something.
 |
| Japanese Water Stones |
Basics Only here to get you started, the videos in the blog entries below by Jon Broida are really excellent and better than any video I can make. These are just a few tricks and essentials. So watch the videos as well.
STEP ONE:
Put your coarse stone on rag or stone holder on the table so that it doesn't slip and put a little water on it, the water should remain on the surface and not be absorbed into the stone by this stage.
Use the sharpie trick to mark the edge and to guide you towards that edge when you start sharpening. Now as seen in the videos.
Double bevel sharpening by Jon
You need to raise a BURR, the formation of the burr on both sides of the blade is essential, it is the key element to successful sharpening. You also need to remove the burr.
Understand that the creation of the burr on both sides of the edge, along the entire edge is your goal. If you have done this, you have a sharp knife. You have removed all the dull metal and now have a fresh clean start. Picture an avalanche of metal sliding down the bevel of your knife, this is the metal that you are moving to the edge with that Coarse Stone. It means you have reached the edge correctly, now flip the blade and repeat. DO NOT keep grinding on one side of the knife until you have created the burr. It could take a while depending on how dull the knife is and how coarse the stone is. Be patient here, flip often if necessary. The burr will come eventually and when it does, you just remove it by decreasing the pressure on the stone and eventually just using the weight of the knife to keep the knife on the stone.
Do not mindlessly grind away metal, this is surgery folks, knife surgery, take care and focus.
Remember-Technique is what will help you reach your goal, don't sweat the angle, maintain the angle you started with throughout the process that's all. If your knife came from the factory with a 20 degree angle, you don't need to resharpen that knife at exactly 20 degrees, without a guided system or one of those hideous knife grinders that you can by, how the hell are you going to keep it at exactly 20 degrees anyway. Nobody can do that, but you CAN maintain the same angle by practising and focusing. It could be 18 degrees or 21 degrees.
Don't worry the ANGLE POLICE are not about to break your door down.
Here is something important.....stay with me with me here.
Once you have achieved and subsequently removed the burr with your first stone, you have sharpened the knife. So now your goal IS NOT TO RAISE ADDITIONAL BURRS but to refine the edge, your are removing the scratches created by your first stone from this point on. You don't need to grind away to create a burr because by doing so, you are just removing metal needlessly. You already did that, you reached your goal with the first stone.
STEP TWO:
With your next lubricated (water) stone, you repeat the process. Now you will create burrs and that is fine, over time, i.e. a hundred knives down the road, you will learn to make those burrs smaller and smaller. Think of the the burr at this stage as removed metal, but as long as you remove any burrs that have formed, you are golden. I still form additional burrs, it just happens as your refine the edge, it's OK, in fact when moving from a 240 grit stone in my case to a 400 stone, it is quite difficult not to form a Burr, I do it every time.
MY point to you is that you know that YOU DON'T NEED to raise the burrs on your other stones, it just happens, it is a result of the process and further confirmation that you are hitting the edge correctly. I am not saying these burrs are harmful at all, I just want you to understand that removing them is the goal as you refine your edge.
When you have used your 4,000 grit stone, or 10,000 grit stone, those burrs are very hard to feel, so don't think you are not sharpening correctly if you cannot feel them. Just go through the motion of removing them anyway though.
If you only have the one finishing stone, just lightly go over the edge on both sides, evenly and just monitor your progress.
Now that you have a sharp knife, keep it sharp, do this weekly and use the 4K stone only, i.e. you don't need to always go back to the coarse stone.
Don't be disappointed if your knife isn't razor sharp, remember to be patient on that first stone. You need to remove the burr, you can run the edge through a cork to do this as well. I guarantee that if you keep practising you can get your knife sharper than it was when you first got it. You will get better, keep at it and don't be discouraged.
PRACTICE/PATIENCE/PERSISTENCE.
COMMENCE SHARPENING
Always available for some tutoring folks.
WATCH THOSE VIDEOS
Remember LEE VALLEY - you can pick everything you need to have the sharpest knives that you have ever seen from Lee Valley. They have a very selection of Japanese Water Stones.
Do an Item Search for Sigma, Bester, and King.
No comments:
Post a Comment