 |
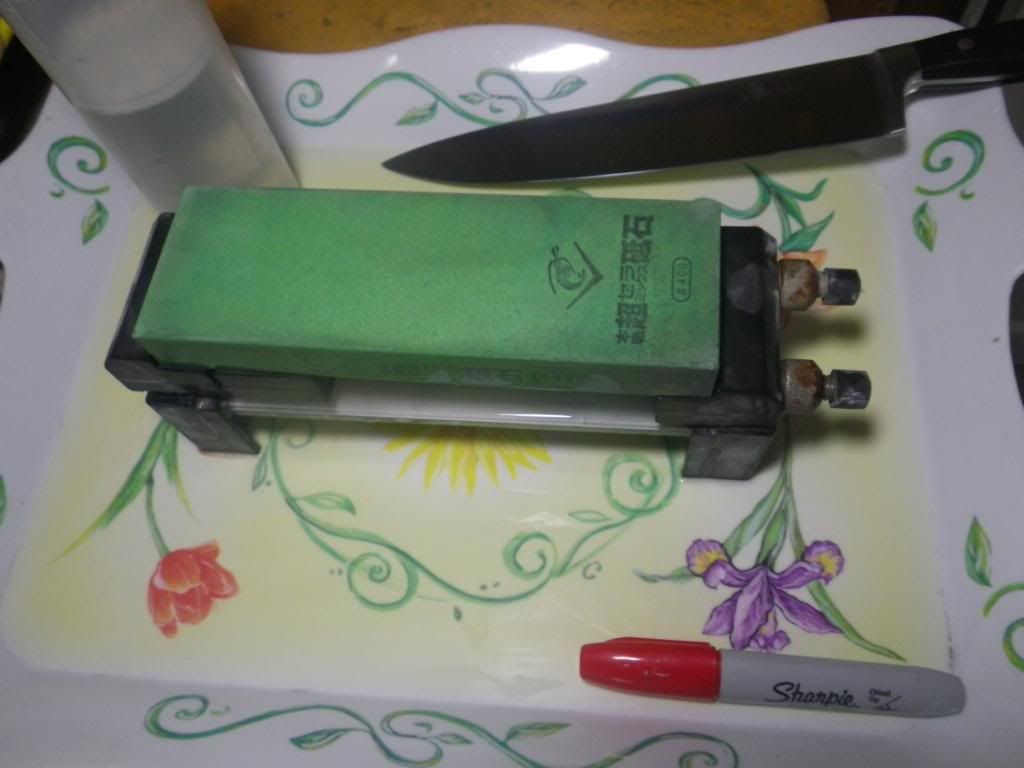
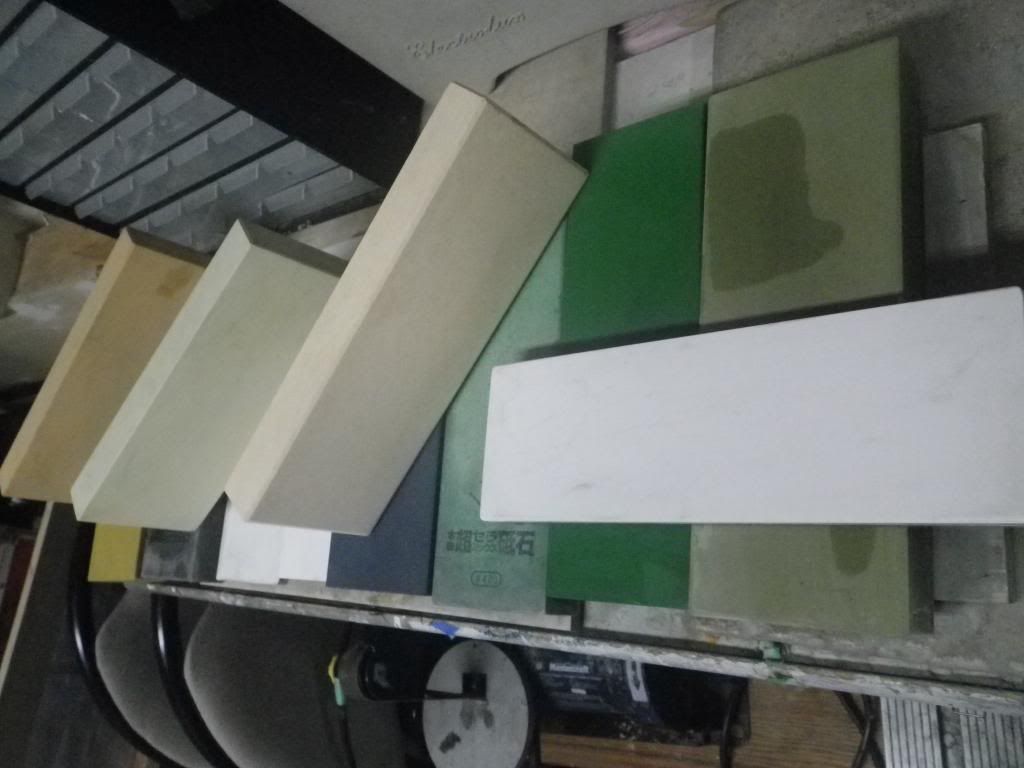
| Coarse Stone |
Your goal here is to remove fatigued metal from the knife, the parts that have rolled over, this is why the knife is dull, you are going to a fresh new edge with the first stone. When done properly, your knife is sharp, the dull parts are now gone, Swarf on the stone or in the water is all that remains.
From the coarse stone, I go to a medium grit stone, 1,000 or 2,000. I DO NOT move to this stone until I have raised the burr with the coarse stone. Time spent on this coarse stone is anywhere from 10 minutes to 45 minutes, it just depends on how dull the knife is. You can go lower than this, you can get a Nubatama 60 grit or Sigma 240 grit to start with.
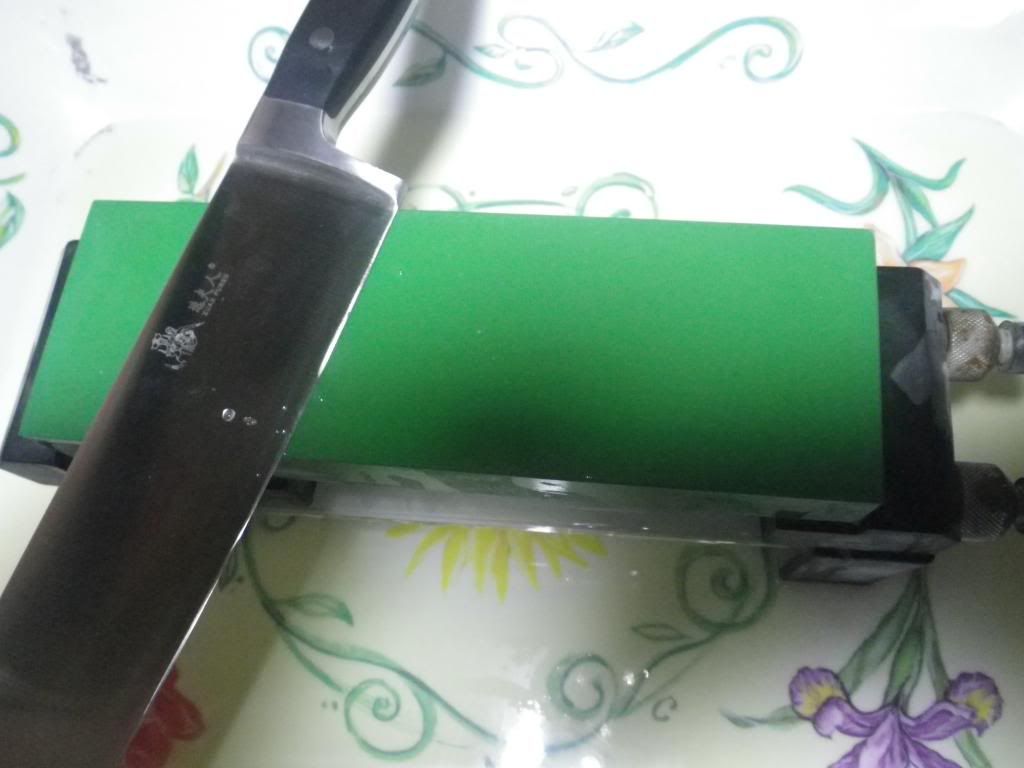 |
| Medium Stone |
NOW I am refining the EDGE, it is already sharp from the first stone. I have removed the fatigued metal and now I am going to progress in stones and remove any scratches left by the coarser stone.
It will get sharper and sharper but I am not trying to raise a burr now, one will likely form but now my goal is to refine the edge and to REMOVE any burr that forms. (Remember the formation of a new burr means you have removed metal from the edge, you don't need to do this again but doing so is no problem, it means you are hitting the edge correctly so just make sure it is removed)
Now some sharpeners will stop at this stone, in fact, many believe there is no need to go beyond 1,000 grit with European knives, even Shun knives are sharpened to 1,000 grit at the factory. Your knife will be perfect now for normal kitchen use, if you have used the right technique, the knife is likely sharper than when new. The time spent on the medium stone is not as long as the Coarse Stone. It could be five minutes.
Take the time to inspect the edge as you sharpen, a Loupe is great for this. Don't just blindly grind away and remove metal needlessly. If you are taking the time to read this and if you have gone out and got yourself some nice water stones than take the time to do it properly.
Impatience will be rewarded with poor results. Remember, don't go to the Medium Stone until your work is done on the Coarse Stone. Patience grasshopper.
Now lets go on some more, heck yeah, we don't to stop here. Lets use at least one for stone, a Fine Stone.
This is a finishing stone, your hard work was done with that all important Coarse Stone, then you removed the scratches and refined the edges with the Medium Stone. Now you are going to do some more refinement, make that edge looked polished and beautiful. You're about to cross the line here between a toothy edge and a more polished, smooth edge.
COOL eh.
Now here is a fine stone, and it is one of my favourites.
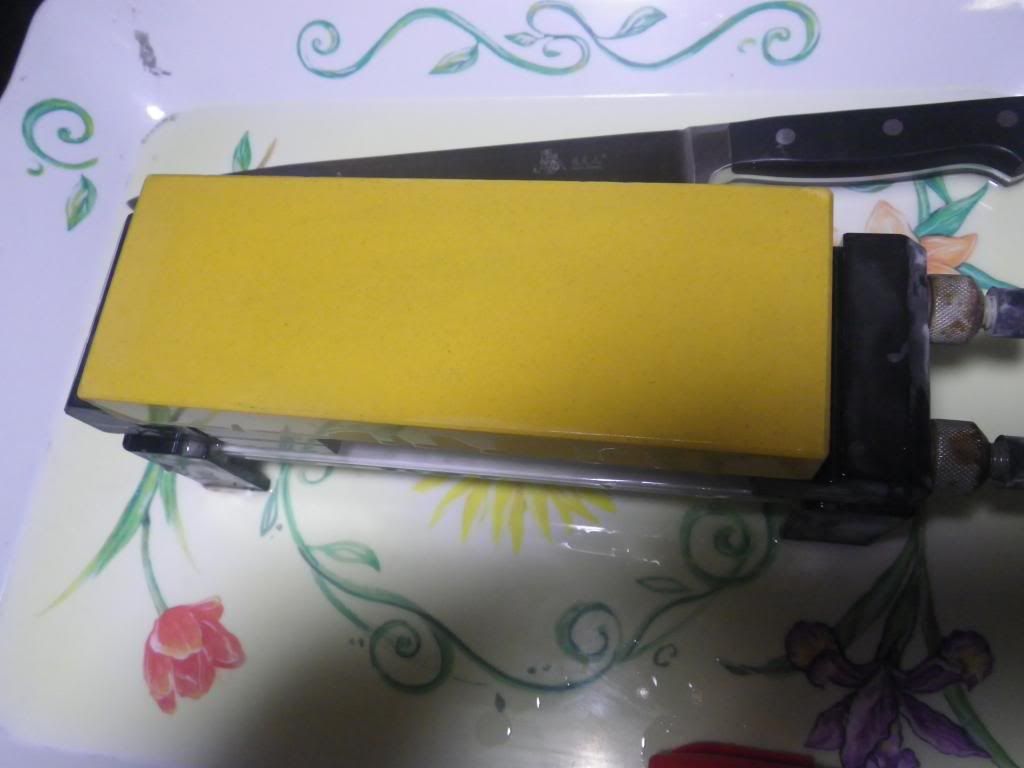 |
| Fine Stone |
You will see that the stones are wet, always keep them wet with WATER (NEVER OIL), don't feel the need to was away slurry and swarf that forms on the stone, just keep it lubricated.
At this stage you are really just polishing the edge, removing scratches left by previous stones. You don't need any pressure here, be gentle and patient. FOCUS here, the edge will be quite polished after this stone, you will be startled perhaps by the way it looks and feels now.
For most knives, you really don't to go any further, you can of course but remember that if you polish the edge too much you are taking away any micro serrations, the tiny, invisible teeth in the edge that help it bite into something like a tomato.
Now I usually just polish my edges up to 4, 000 or 5, 000 grit. If I am doing a Japanese knife, I mean hand made Japanese knives (not Shun or Global or MAC), I will take it up to 8,000 grit.
Now if you applying compound bevels, creating a Relief Face, you can polish that right up to your highest grit, I sure do. Here is a very fine Japanese Water Stone. Overkill for sure folks.
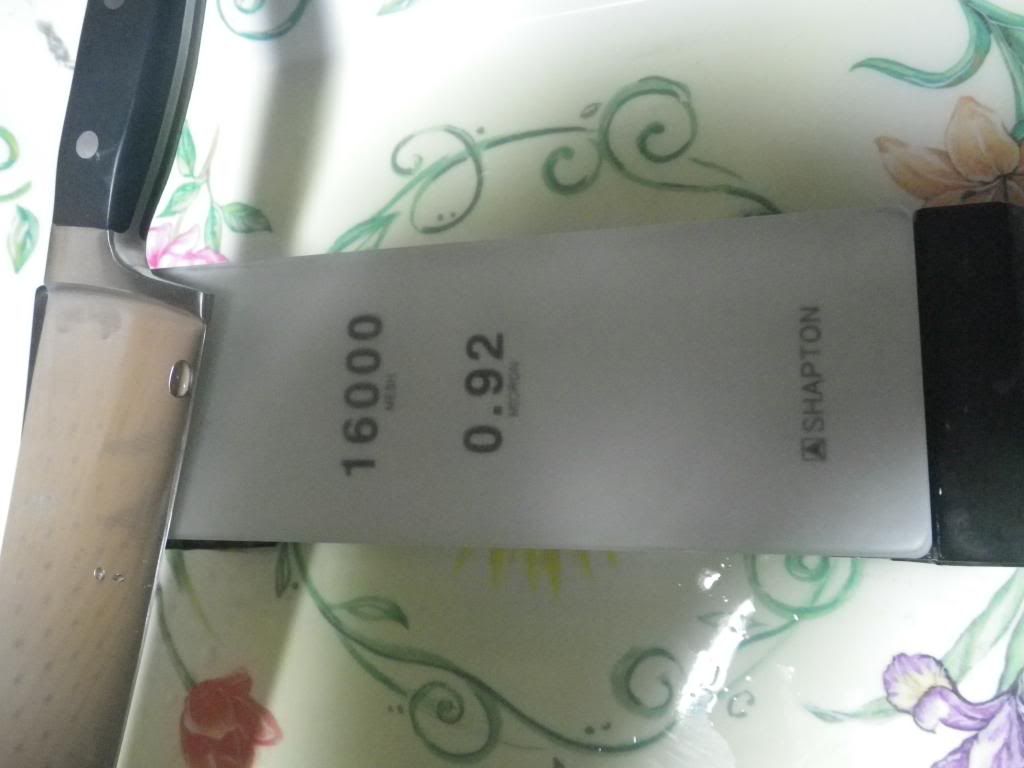 |
| Shapton Glass 16,000 |
For regular sharpening however, i.e. to take a knife that is very dull to extremely sharp I use 3 to 5 stones. If there is damage to the edge I need to fix that first of course. It happens a lot and greatly increases the time required to sharpen it.
Never hesitate to ask me to help you with sharpening, whether it is stone selection or just how to sharpen knives.
REMEMBER- Raise a burr on both sides of the knife and then remove it. This is what you need to do to kick start your knife sharpening session. Every single time with every knife, no exceptions. (Except Ceramic knives, they don't raise burrs)
Thanks for being here.
No comments:
Post a Comment